Manage your OpenAPI specs with Speakeasy.
Use this guide only for managing your OpenAPI specs independent of generating SDKs.
If you are looking for the quickstart to setup SDKs then see the SDK Quickstart.
In this guide we will walk you through the process of managing your OpenAPI specs using the Speakeasy API Registry and CLI. This is colloquially also known as a “source-only workflow” as it only utilises the sources feature of Speakeasy workflows.
Prerequisites
- A Speakeasy account and CLI installed. Log in here to get an account created.
- An OpenAPI spec for your API
Overview
To get started create a github repository. Something like company-specs or company-openapi or common repository names.
Initialise a new workflow file by running speakeasy configure sources and follow the prompts to add in your OpenAPI spec and any
Overlays you have. Make sure to give your source a meaningful name as this will be then
name used for the API Registry in your workspace dashboard.
A common repository structure will look like the following:
company-specs
├── .speakeasy/
│   ├── workflow.yaml
├── specs
│   ├── openapi.yaml
│   ├── ...
├── overlays
│   ├── overlay.yaml
│   ├── ...
├── overlayed_specs          👈 this folder includes specs that have been modified by overlays
│   ├── openapi_modified.yaml
│   ├── ...
└── .gitignore
The workflow file will be generated in the .speakeasy folder and will look like the following:
workflowVersion: 1.0.0
speakeasyVersion: latest
sources:
    my-api:             👈 this is the name of the source used in `speakeasy configure sources`
        inputs:
            - location: specs/openapi.yaml
        registry:
            location: registry.speakeasy.com/your-company/your-company/my-api
        outputs:
            - location: overlayed_specs/openapi_modified.yaml
targets: {}
Publishing spec changes
Any time you would like to publish a new version of your OpenAPI spec to the API Registry simply run
speakeasy run -s targetThis will publish the spec to the API Registry as a new revision for the source my-api.
You can also optionally tag the revision of a spec by running:
speakeasy tag apply -n v0.0.2This will tag the most recent revision of the spec with the tag v1.0.0.
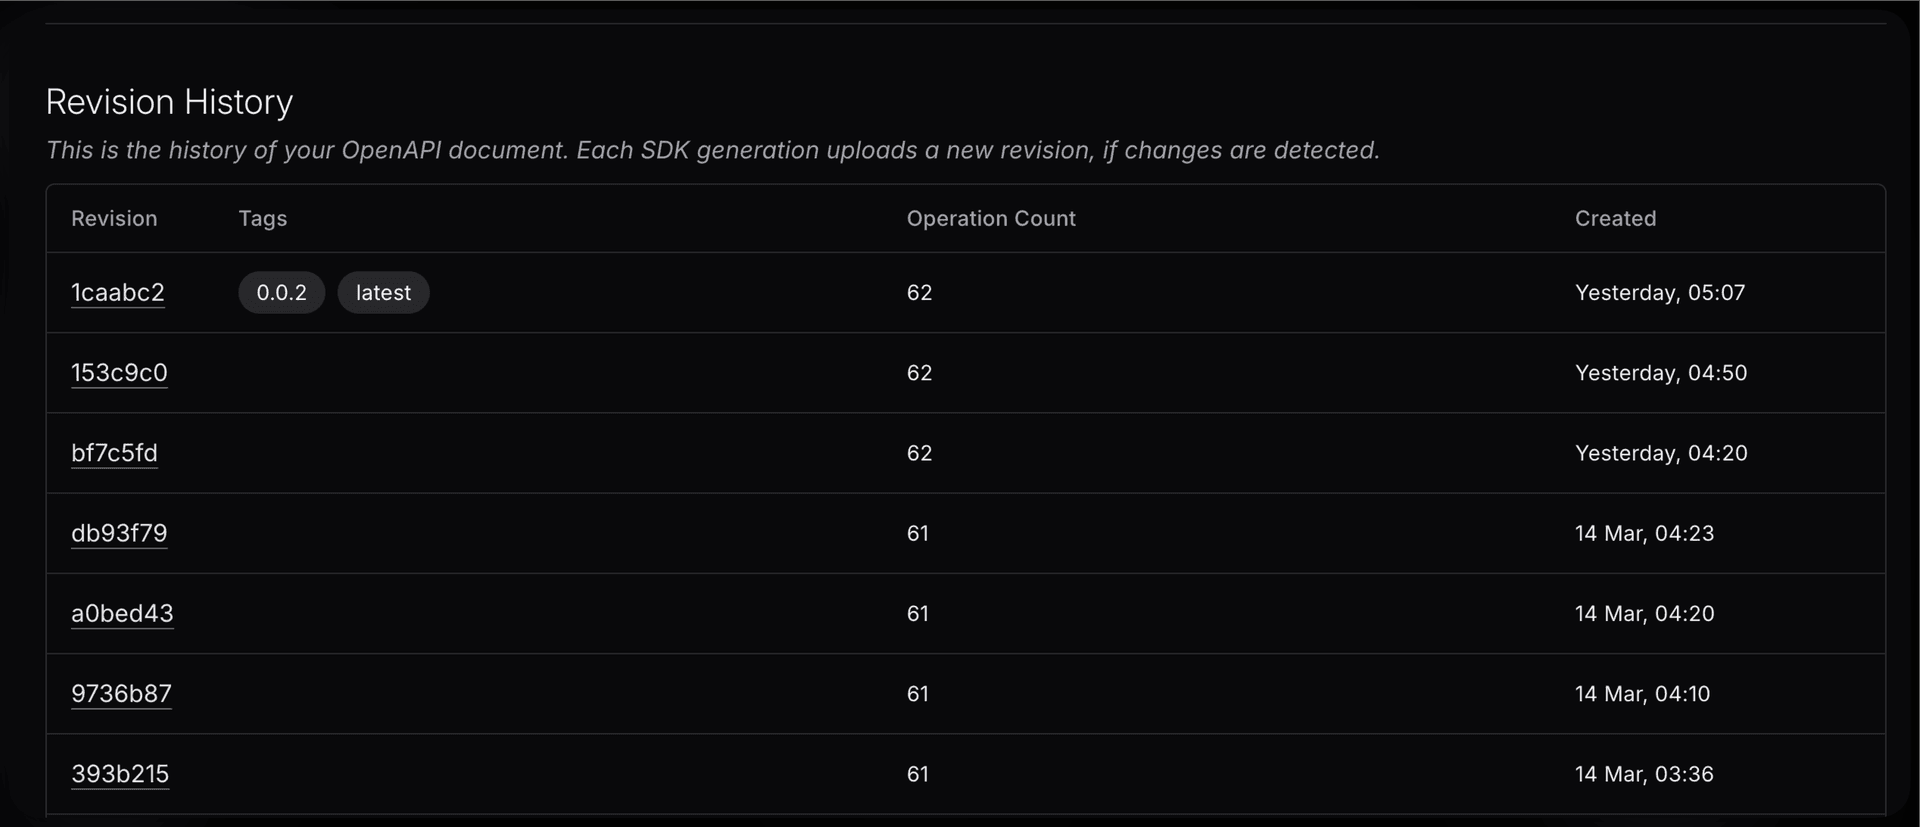
API Registry
This will show up as the latest revision in your API Registry tab in the dashboard.
You can leverage this to:
- Track changes to your spec, view detailed change reports and download past versions of the spec.
- Create a stable public URL for sharing a paritcular revision of the spec..
- Use the registry URI as a source for generating SDKs, eg:
registry.speakeasy.com/your-company/your-company/my-api.
Last updated on